No-Code Website Checklist: From Domain to Launch in Four Steps
No-code website builders enable non-technical users to create professional websites without coding knowledge. These platforms offer drag-and-drop interfaces, pre-built templates, and intuitive design tools, making web development accessible to entrepreneurs, businesses, and individuals without requiring developer skills or technical expertise.
- No coding required
- Live in minutes
- Blog, SEO and chatbot tools included
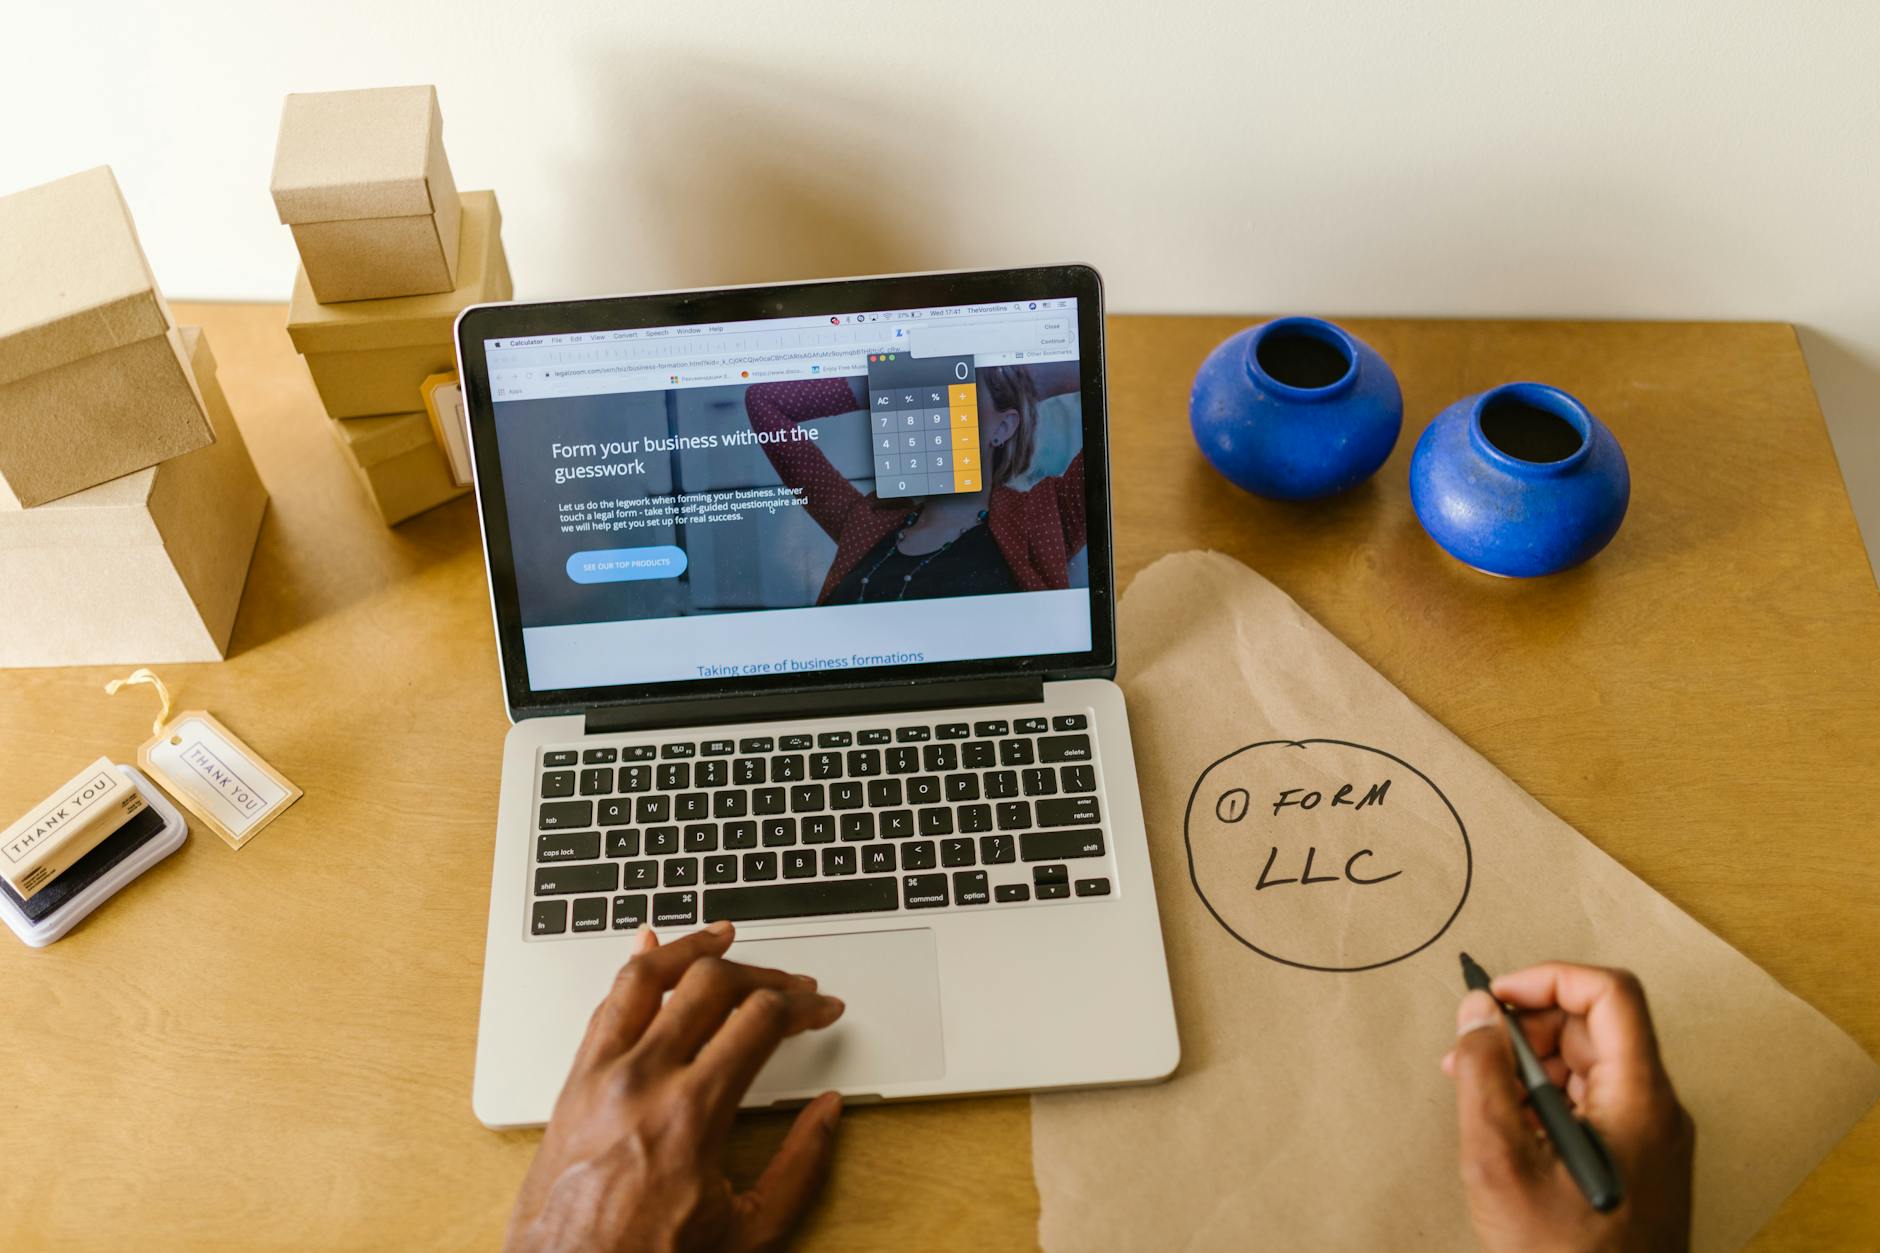
A no-code website checklist is the set of tasks that takes a business from no site to a live one in four steps: choose your domain and platform, let the builder generate the structure, customise it with your real details, then add contact tools and launch. Each step below is a short list of tasks to tick off.
- Domain owners must give accurate contact details and answer their registrar within 15 days (ICANN).
- Adding a business to Google Business Profile takes 4 steps and can be done at no charge (Google Business Profile Help).
- Google's loading target is for a page's main content to appear within 2.5 seconds (Google Search Central).
- On AI Web Maker, building and previewing cost nothing; going live is $119 a year of hosting, with the domain paid separately.
How do you choose the domain and platform (step 1)?
Pick a short domain that matches your business name, and a platform that starts you with a generated draft rather than a blank page. Both decisions take minutes if you know what to look for.
| Tick | Task | Done when |
|---|---|---|
| ☐ | Shortlist two or three domain names | Each is short, easy to spell aloud and close to your business name |
| ☐ | Avoid hyphens and numbers | You could say it over the phone without spelling it out |
| ☐ | Decide: connect an existing domain or buy a new one | You know which registrar account holds it |
| ☐ | Choose a builder that drafts the site for you | You can preview a full site before paying |
Your domain is the first thing a customer types or clicks, so test each option by saying it aloud. A name like riverviewplumbing.com is far more useful than something clever nobody can remember, and adding your town or main service often helps if the first choice is taken. The AI domain name finder can suggest options to check before you buy.
When you register a domain you become its registrant, which carries a few duties. ICANN's registrant guidance says your contact details must be accurate and kept up to date, and you must answer your registrar's enquiries within 15 days. Turn on automatic renewal if your registrar offers it, and keep the payment details current so the name never lapses.
For the platform, choose one that asks about your business and produces a full first draft. A blank canvas sounds like freedom, but it stalls most owners who are not designers. On AI Web Maker you can build and preview the whole site before paying anything, then pay $119 a year for hosting when you go live, with the domain bought separately.
How does the builder generate the structure (step 2)?
Describe your business in one or two plain sentences and the builder produces the pages, sections and first draft of the copy. Your task is to check that the structure fits.
| Tick | Task | Done when |
|---|---|---|
| ☐ | Write a one-line description of your business | It names your service, customers and area |
| ☐ | Generate the draft | You can see Home, Services, About and Contact |
| ☐ | Remove sections that do not apply | Every section serves a visitor's question |
| ☐ | Reorder sections if needed | The page flows from what you do to how to reach you |
A description such as "Mobile dog grooming for pet owners in north Austin" gives the builder enough to produce a homepage, a services page and a contact form organised around your business. The more specific you are, the less editing you will do later. Mention the one action you most want visitors to take.
Reviewing the structure is visual. You drag a section to move it, remove a block that does not fit and add one that is missing, all without opening any code. If something goes wrong, you edit it back, so you can experiment without worrying about breaking the site.
How do you customise the site without touching code (step 3)?
Replace every general detail with your real information, then set your colours, fonts and photos in the visual editor. Accuracy matters more than design at this step.
| Tick | Task | Done when |
|---|---|---|
| ☐ | Add your address, phone, email and hours | They match your Google profile and signage |
| ☐ | Replace stock images with your own photos | Each photo has a short description |
| ☐ | Set brand colours and fonts | Text is easy to read on every background |
| ☐ | Check page titles and descriptions | Each page has a distinct, accurate title |
| ☐ | Preview every page on a phone | Nothing overlaps, and every button can be tapped |
Real details build trust far more than polished stock photography. A customer who sees your actual premises, your team or an example of your finished work is much more likely to get in touch. Give each photo a short description of what it shows, because screen readers and search engines rely on that text.
Page titles deserve a quick check even though the builder drafts them. Google's title link guidance says each page should have its own descriptive title rather than repeated boilerplate or a vague word such as "Home". Read each one and make sure it says what the page is about and, where it fits, your town.
Design changes are made the same way you format a document. You pick a colour from a picker rather than typing codes, choose a font from a list and see the result immediately. Keep the palette simple and make sure text stands out clearly from its background.
How do you add contact tools and launch (step 4)?
Add at least one easy way to get in touch, test it, connect the domain and publish. Then tell Google the site exists.
| Tick | Task | Done when |
|---|---|---|
| ☐ | Add a contact form and tappable phone number | Both appear on the homepage without scrolling |
| ☐ | Add booking or payment tools if your business needs them | A test booking or payment completes |
| ☐ | Connect your domain | The address loads your site with a padlock in the browser |
| ☐ | Send a test message through the form | It arrives in your inbox |
| ☐ | Publish and set up Search Console and your Business Profile | Both show your new site address |
A site that gives visitors no easy way to act wastes its traffic. Put a contact form and a phone number that can be tapped on mobile where people see them first, and add booking or payment tools only if your business genuinely uses them. Each extra step between interest and enquiry loses some visitors.
After publishing, set up Google Search Console so you can see whether your pages are indexed, and add or claim your Google Business Profile if you serve local customers. Google suggests checking Search Console about once a month, as its Search Console guide explains. Run the live site through the AI website SEO checker to catch any missing titles or alt text.
Which mistakes do first-time site owners make?
The usual mistakes are adding too much, skipping the phone check, assuming the launch worked and leaving the site unchanged afterwards. All four are easy to avoid.
Adding too much is the most common. Dense pages, crowded navigation, pop-ups and sidebars full of widgets confuse visitors rather than impress them. A focused site with a homepage, services, about and contact pages serves most businesses better, and visitors should understand what you do and how to reach you at a glance.
Skipping the phone check is the most costly. A layout that looks right on a laptop can break on a small screen, so preview every page on mobile, not only the homepage. A misaligned button or text too small to read can lose a customer who simply leaves.
Assuming the launch worked is the quiet mistake. Check that your domain loads the site, that the browser shows no security warning and that your form actually delivers messages. Finally, keep the site current by updating services and adding a useful page now and then, because a site that never changes slowly falls behind ones that do.
Questions owners ask about launching a no-code website
How long does the whole checklist take?
Most owners can finish all four steps in an afternoon if their details and photos are ready. The domain decision and gathering photos usually take longer than the build itself. Preparing those first keeps the rest quick.
Do I need to buy the domain before building?
No, you can build and preview the site first and connect a domain when you are ready to publish. On AI Web Maker the domain is paid separately from hosting. Choosing the name early simply helps you settle your branding.
What if my contact form does not deliver messages?
Check the email address set for the form, then look in your spam folder. Send another test once you have corrected the setting. Never assume a form works until a test message has arrived.
Is a Google Business Profile part of launching a website?
It is a separate listing, but it matters for any business that serves local customers. Google lets you add or claim one at no charge, and linking it to your new site helps people find both. Make sure the name, phone number and hours match on each.
After the checklist
Once every box is ticked, your site is live, findable and able to win enquiries. The next stage is improving it as you learn what customers look for.
The wider guide on how to build a website with AI covers what to do in the weeks after launch, from Search Console to fresh content. For now, keep your checklist and run through step 4 again whenever you change your contact details or domain. A quick recheck each time stops a small change from quietly costing you enquiries.
Build your website in Minutes and get the AI Tools that work
Start Building Your Website →